每天坚持做点事情~~打发时间~~,养成习惯
每天坚持做点事情打发时间,养成习惯
1) 坚持练钢琴1小时(能做到么),不然发呆做什么去了呢
2)坚持阅读,阅读是很好的习惯(life study etc.)
3)坚持运动,睡前各种瑜伽,练起来
逃离反智人士,吃太饱了
最怕流氓有文化 ~
每天坚持做点事情打发时间,养成习惯
1) 坚持练钢琴1小时(能做到么),不然发呆做什么去了呢
2)坚持阅读,阅读是很好的习惯(life study etc.)
3)坚持运动,睡前各种瑜伽,练起来
逃离反智人士,吃太饱了
最怕流氓有文化 ~

今年最后一个长假已经过去好多天,本想写写假期见闻,心里的浮躁却总也压不住,好在屋外的凉爽让紧绷的神经能稍稍放松。最近这段时间,身边几乎所有人都在感叹时间过得飞快,一转眼,2025 年就要结束了。
 前不久看到一篇神奇的文章1,题目是:Genetics of infertility and “assisted fertilization” in the Bible: The case of Abraham and his family。不孕不育的文献多如牛毛,但从圣经视角做研究还是头一回碰到。
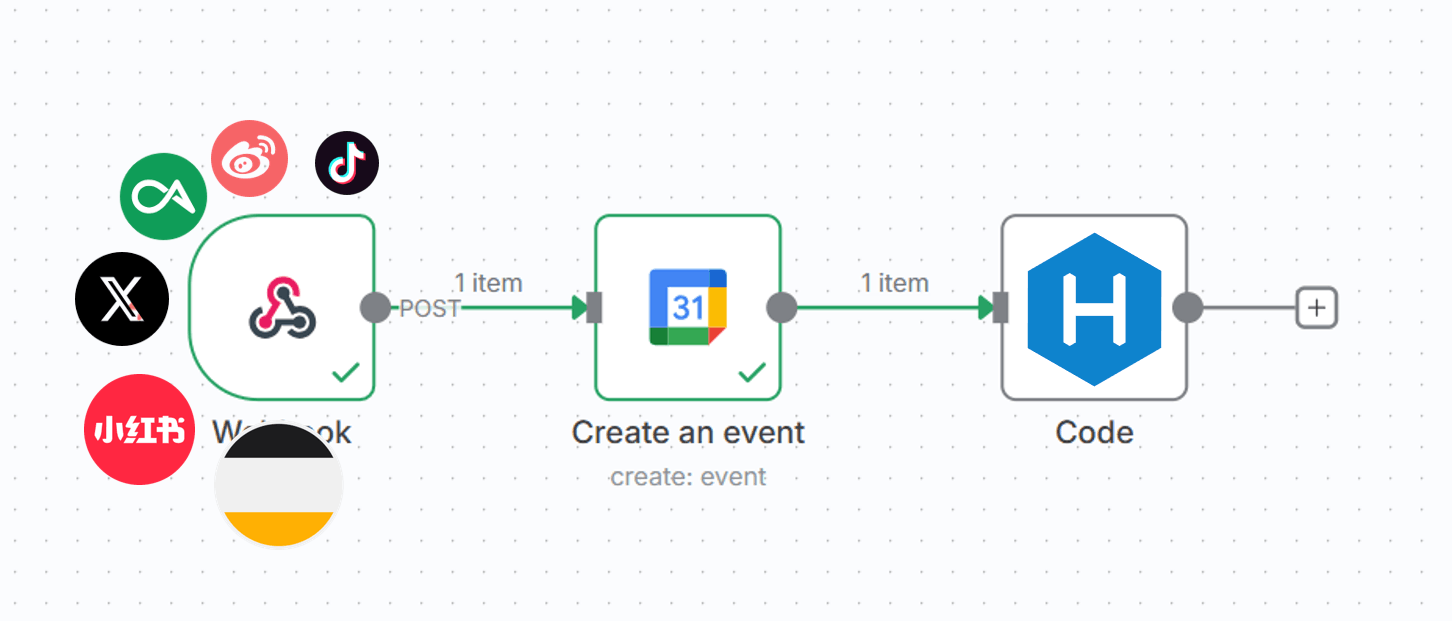
简单讲,就是把小红书、抖音、微博、𝕏等等平台发布的动态展示到热图中,类似于 github contributions。点我直达。下面动图是日历 app 中的效果。

Certimate 是一个 SSL 中心化管理工具,方便对多个主机🖥️上的域名证书🔐进行集中管理。只是当作 acme.sh 的前端替代很好上手,但如果你想使用“自动”功能,坑还是不少的。